


Your Login and URL
Login to upload files:
https://github.com.youruserid
URL to see your files on the web (submit this):
http://youruserid.github.io/repositoryname/
The first file should be named “index.html”
(lowecase “i”) to load automatically.
Making a Github Repository
- Go to github.com, create an account, and log in.
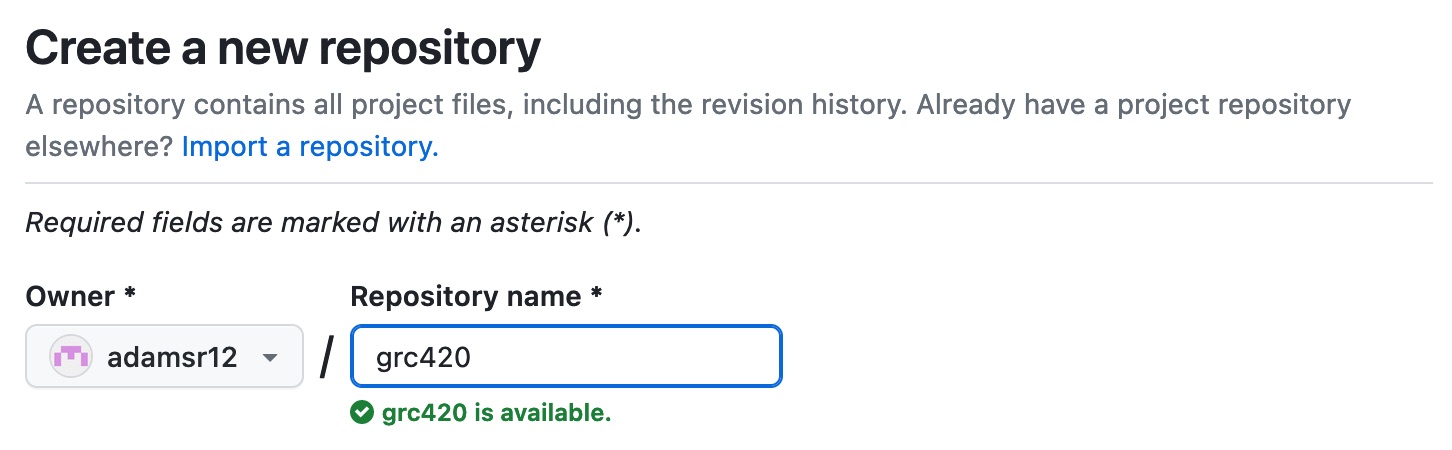
- In your Dashboard, click “Create repository.“ This will be the folder for your HTML files.
- The URL for a file named “index.html” will be: username.github.io/repository/index.html.
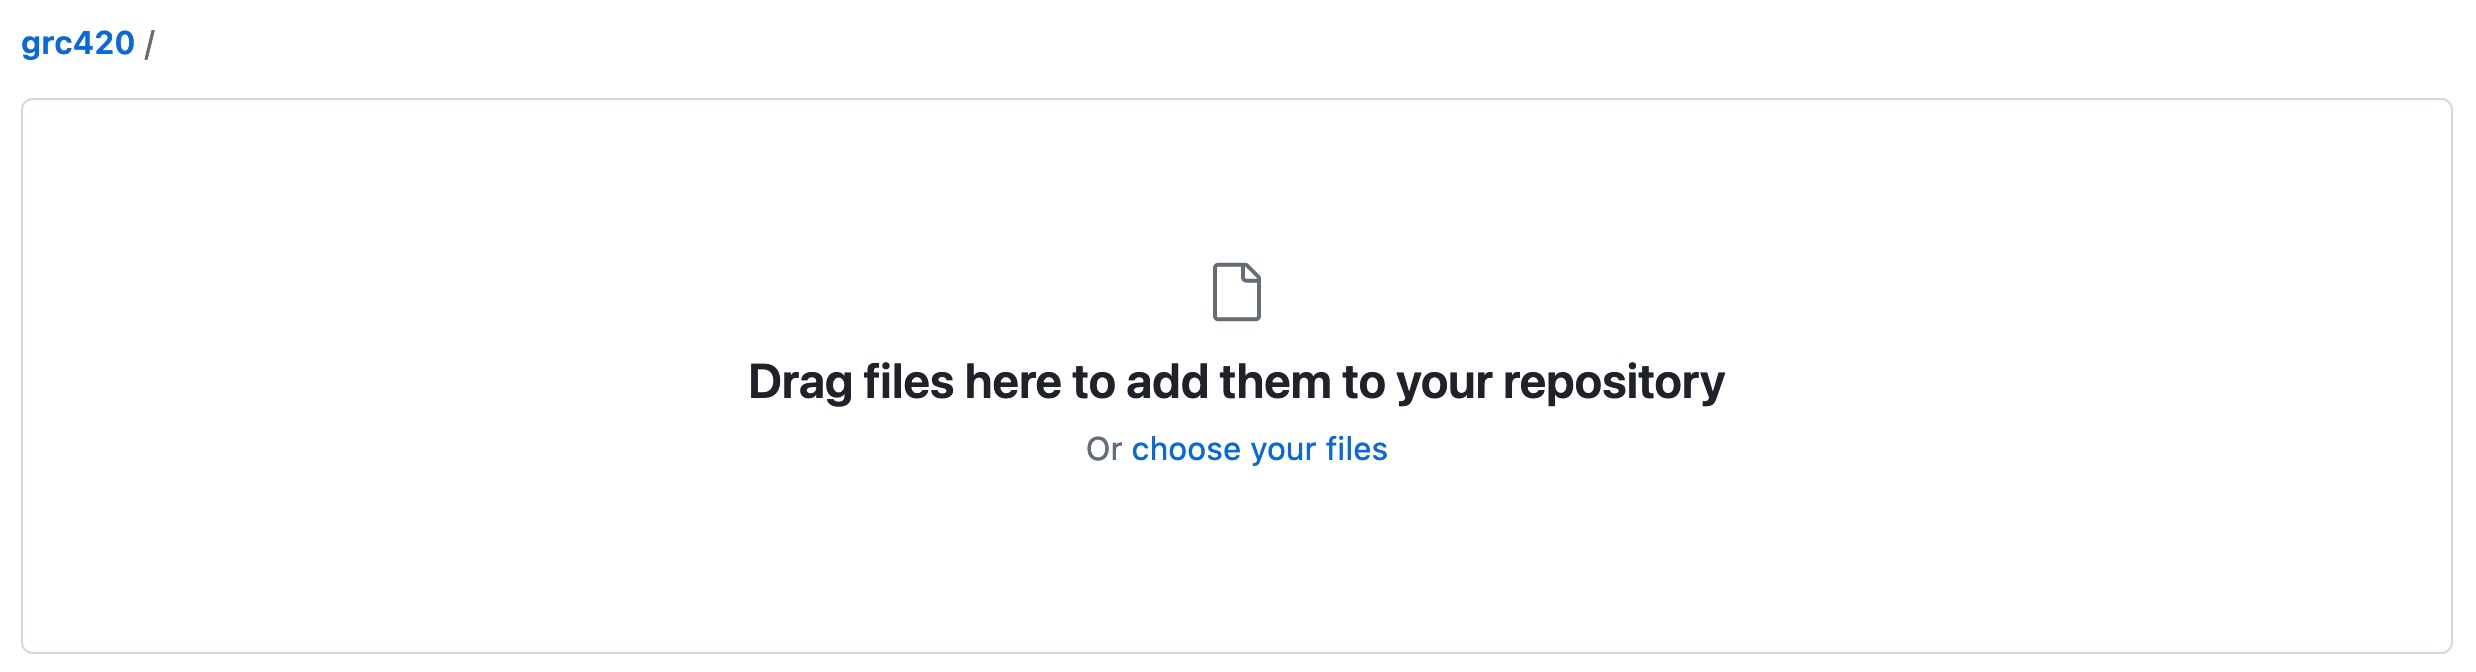
- In the respository, click Add file > Upload Files, then drag-and-drop the files you want to upload into the window.
- At the bottom of the window, click “Commit changes.”
- To replace a file, re-upload the new file; it will replace the old file of the same name.
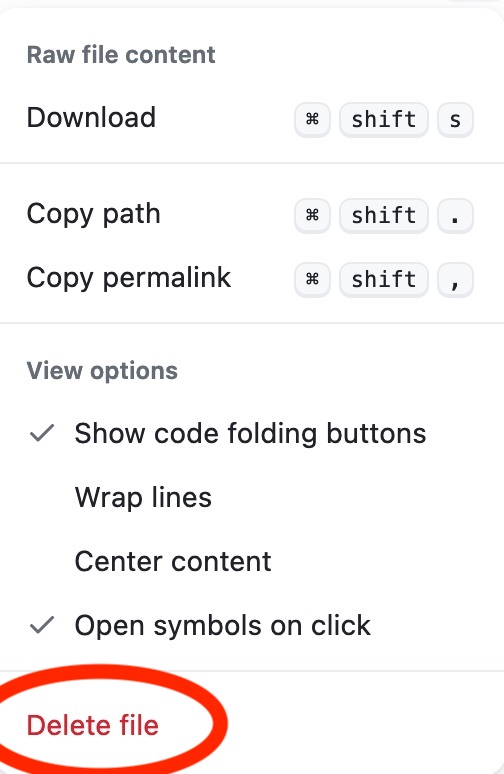
- To delete a file, click on the file, then the three dots at the top right of the window, and select “Delete.”
Preparing Files for Upload
- Make a “gold master” folder on your desktop called “site” or some other name.
- Place your .html files and any linked css, image, video, font, or other files into this folder.
- I recommend using all lowercase letters and avoiding spaces in file names. Use “index.html” for the home page, which will load automatically.
- Preflight the web pages by opening in a browser, checking for proper display, missing images, and broken or incorrect links.
- Select all the files and upload to your Github repository.
Setting File Visibility and Deleting
- After uploading your files to a Repository, click the Settings button at the top, Pages at left, and scroll down to Select "main" as the deployment.
- To delete a file, click on the file. From the three dots at right, select Delete File.
- To delete a repository, go to the repository, select Settings, and scroll down to "Danger Zone" > Delete this repository.